
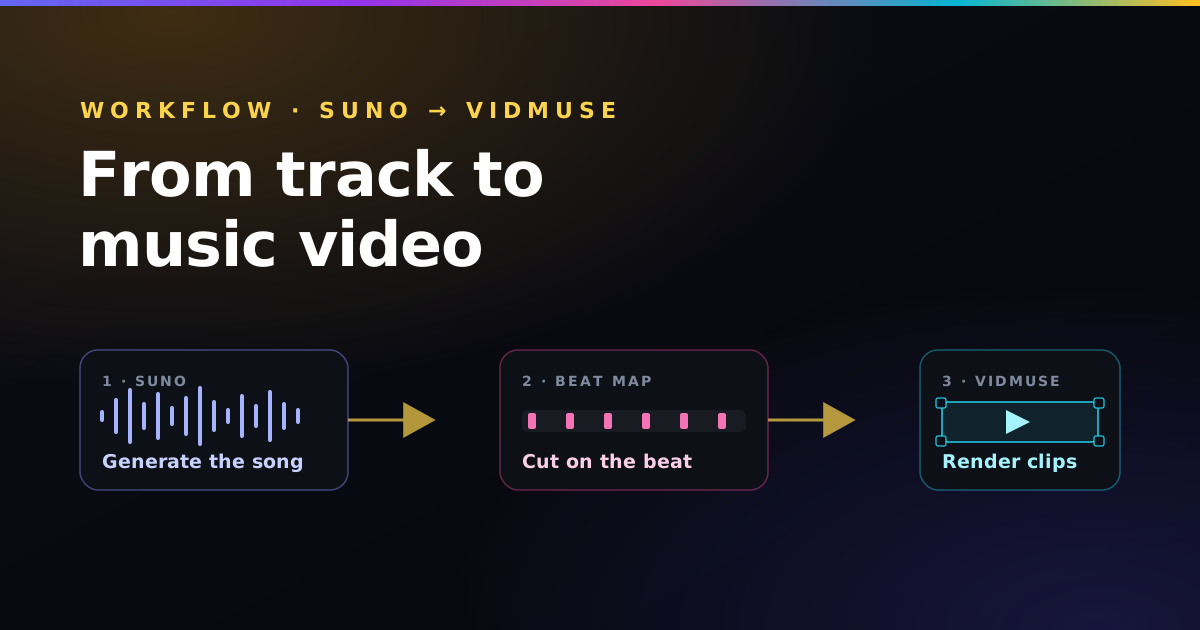
A great AI music video is not one long clip — it is a sequence of short, deliberate shots that change in time with the music. Get the rhythm of the cuts right and even simple footage feels professional. Get it wrong and the most beautiful Vidmuse render still feels flat.
This guide walks the whole journey: from generating the track in Suno, to storyboarding shots, to generating consistent Vidmuse clips, to the editing tricks that lock everything to the beat.
Key takeaways
- Build the song first, then design visuals around its timeline — never the reverse.
- Keep one fixed subject description across every Vidmuse clip for character continuity.
- Cut one frame before the loudest drum hits so edits feel like they land on the beat.
- A few flash and speed accents on the drums do most of the "high-budget" work.
Step 1 — Generate and map the Suno track
Everything is built on the song, so make it first. Generate your backing track in Suno and download the highest-quality file you can — a WAV if you have access to it, since it preserves the sharp drum transients you will be cutting to.
Now map it. Play it through once and write down the structure with timecodes: intro ends at 0:12, chorus peaks at 0:24, guitar solo at 1:05. These marks are your sync points — the moments where the picture should change. (New to Suno prompts? Start with writing a Suno style prompt that works.)
Step 2 — Storyboard scenes to the timeline
Divide the song into 4-to-8-second scenes that line up with the lyrics and drum sections. Each scene gets one idea: a wide establishing shot for the intro, a close-up for the verse, an explosive wide for the chorus.
You do not need to be an artist here. A simple list works: "0:00–0:12 driver enters neon garage / 0:12–0:24 car launches onto highway / 0:24–0:36 chorus, city erupts in light." This list becomes your Vidmuse shot order.
Step 3 — Generate consistent Vidmuse clips
This is where most AI videos fall apart: the main character looks like a different person in every clip. The fix is a fixed subject description you copy into every prompt unchanged, varying only the action and lighting.
Structure each Vidmuse prompt in four lines — Subject, Action, Camera, Lighting — and match the camera energy to your BPM:
Subject: A rogue cyberpunk driver in an orange reflective jacket, silver visor, short dark hair.
Action: Launching the car forward as the city explodes into light on the beat drop.
Camera: Kinetic low-angle tracking shot, fast forward push, dizzying tilt.
Lighting: Volumetric cyan and hot-pink strobes flashing on the heavy drums, wet asphalt reflections.
For the calmer verse, keep the same subject line and dial the motion down to a slow drift. Repeating those exact physical descriptors — jacket, visor, hair — is what protects continuity. Our deep dive on Vidmuse camera movement prompts covers the motion vocabulary in detail.
Tip: Generate five or six clips, not one per second. Short scenes that you re-cut in the editor give you far more rhythmic control than a single long render.
Step 4 — Cut on the beat in your editor
Import your Vidmuse clips and the Suno master into any editor — CapCut, Premiere, or DaVinci all work. Drop the audio on its own track and zoom into the waveform until you can see the individual spikes.
Those tall vertical spikes are the snare and kick hits. Place your clip cuts one frame before each spike. That tiny lead is the trick: the human brain registers the cut and the drum as a single satisfying impact, and the whole video suddenly feels "on beat."
Track 3 — Flash layer: brief white opacity dips (100% → 0% over 5 frames) on snare hits.
Track 2 — Video: Vidmuse clips, cut 1 frame before each major drum transient.
Track 1 — Audio: Suno WAV master, light limiter to keep the transients punchy.
Step 5 — Add flash and speed accents
The final 10% is what separates a slideshow from a music video. Add two cheap, high-impact accents on the drum hits:
- Flash: a five-frame white flash on the biggest snares mimics a strobe and hides hard cuts.
- Speed ramp: push a clip to ~2.5× just before a hit, then drop to ~0.7× right as the beat lands. That snap-and-settle motion reads as expensive and keeps mobile viewers watching.
Want the lyrics on screen? Time them in the free LRC maker by tapping the spacebar as each line starts, download the .srt, and import it as captions in CapCut or Premiere. Every lyric lands on its line without dragging a single caption by hand.
Export settings that travel well
For TikTok, Reels, and Shorts, export vertical and loud-but-legal:
Aspect ratio: 9:16 portrait (1080 x 1920)
Frame rate: 24fps for cinematic motion blur, or 30fps for crisp action
Audio: normalize the Suno master to about -14 LUFS
Frequently asked questions
Do I make the song or the video first?
The song, always. Its BPM and structure determine how long each shot should be and where the cuts fall. Designing visuals first means re-timing everything later.
How do I keep my character looking the same across clips?
Reuse one literal subject description in every Vidmuse prompt — same clothing, colors, and materials — and change only the action and lighting. Vague descriptions drift; specific repeated ones hold.
Why cut one frame before the drum instead of on it?
A cut placed exactly on the transient often feels a hair late because of how we perceive picture and sound together. Leading by a single frame makes the edit and the beat register as one impact.
Which editor should I use?
Any of CapCut (free, mobile-friendly), Premiere Pro, or DaVinci Resolve (free tier) can do everything here. The technique matters far more than the tool.
Build both prompts in one place
The Paddy Prompt Studio pairs a Suno style builder with a Vidmuse choreographer, so you can design the track and its matching beat-reactive visuals side by side — then save the set for next time.
Open the Studio →